
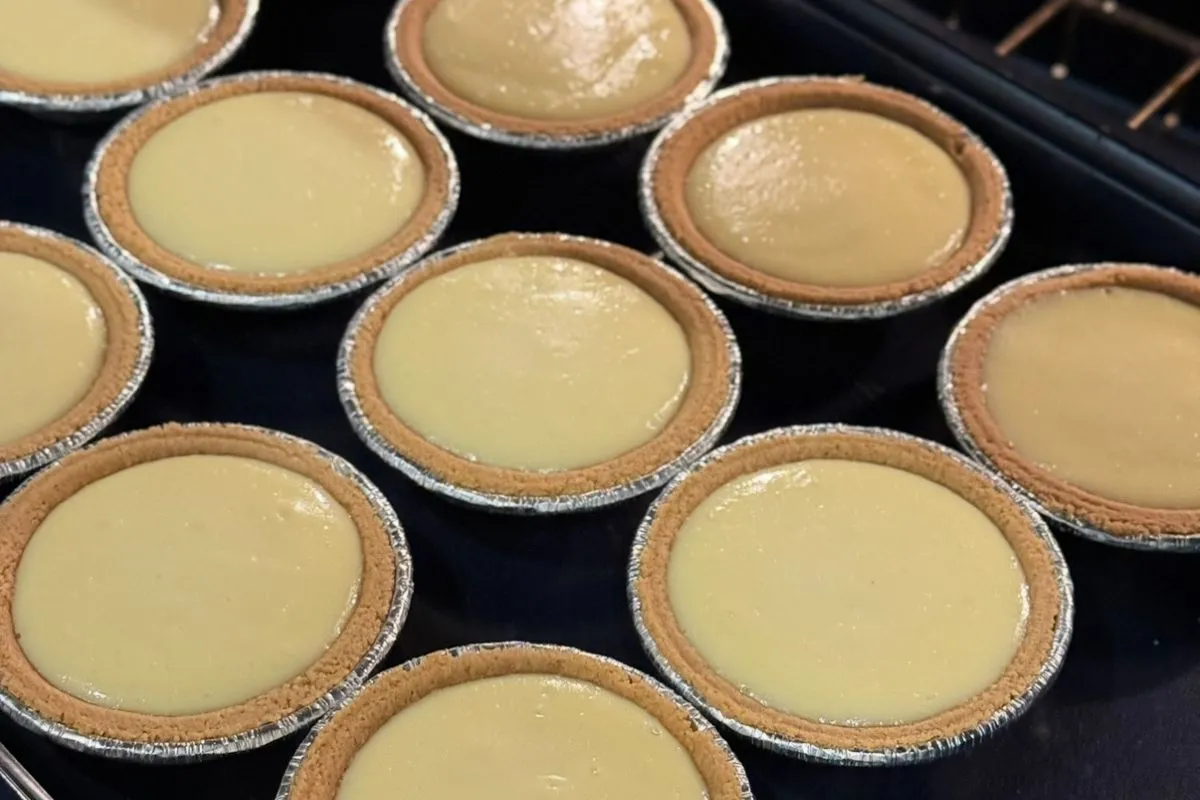
You know how sometimes you just want a little something sweet to finish the day? Like, not something so heavy that it has you questioning every choice you’ve made since lunch, but just enough to satisfy that dessert craving without the guilt? Oh, friend, I’ve got you. This easy cheesecake recipe is the answer to all of that and more!
Think silky, smooth cheesecake filling paired with a buttery crust that melts in your mouth. These mini low-sugar cheesecakes aren’t just desserts…they’re moments of deliciousness for your taste buds. They’re guilt-free and packed with flavor that’s about to knock you off your diet-approved socks. It’s what dessert dreams are made of, served in the most adorable, individual-sized portions.
20-Minute Cheesecake Recipe (5g Sugar)
Equipment
- High-speed blender or food processor
- Mixing bowls
- Cupcake pan
- Aluminum tins (12)
- Measuring cups and spoons
- Spoon or spatula
Ingredients
Ready-Made Crust
- 12 ready-to-bake mini pie crusts Keebler
For the cheesecake filling:
- 2 cups reduced fat cream cheese softened and at room temperature
- 1 1/4 cups light sour cream at room temperature
- 3 large eggs at room temperature
- 3/4 cup superfine sugar substitute e.g., Monkfruit or Blend
- 1 tbsp vanilla extract or extract of choice
Instructions
- Preheat the oven: Heat that oven to 160°C/325°F. Lay the ready-made pie crusts on a baking sheet.
- Cheesecake Filling: Using a cake mixer, blend the cream cheese, sour cream, and sugar substitute until smooth and fluffy. Crack in the eggs, one at a time, mixing briefly after each addition. Blend in the vanilla extract until fully incorporated. The batter should be luxuriously smooth.
- Fill 'em Up: Scoop about 1/4 cup of cheesecake filling into each tin or pie crust, smoothing out the tops with a spoon or spatula if needed.
- Bake It Up: Place the cupcake pan or baking sheet in the preheated oven and bake for 15 minutes, maybe 20 but watch it. You’re looking for a center with just a slight jiggle—that’s how you know it’s perfect.
- Cool it Down: Turn off the oven, crack the door open a bit, and allow the cheesecakes to cool completely in the oven. This step is the secret weapon to avoid cracks and keep your mini cheesecakes stunning.
- Chill to Perfection: Once cooled, transfer everything to the refrigerator. Chill for at least 4 hours (overnight is even better, if you’ve got the patience). This step lets those flavors come together and the filling firm up beautifully.
Notes
- Prefer to skip the keto crust? No biggie. Simply use ready-to-bake mini pie crusts from the store. Just note they’re not sugar-free or keto-friendly, but we don’t judge how you decide to enjoy your cheesecakes!
- Nut-free? Easy fix—swap the peanut butter cookies for a nut-free keto cookie alternative.
- Top it off: Take these to the next level with a dollop of sugar-free berry compote or a drizzle of melted dark chocolate. Fancy vibes, unlocked.
- Freezer-Friendly Bonus! Store any extras in an airtight container in the freezer for up to 3 months. Defrost in the fridge for insta-dessert magic.
Disclaimer: The nutritional information provided with this recipe is an estimate and may vary depending on the specific ingredients, brands, or preparation methods you use. Cooking times and results may also vary based on your equipment, conditions, and individual cooking skills. Please use your own judgment and adjust as needed during preparation.
Be mindful of food allergies and sensitivities when preparing this recipe. Always double-check ingredient labels to ensure they are suitable for your specific dietary needs or those of anyone you may be serving. Neither the recipe creator nor this blog assumes responsibility for adverse reactions caused by following the recipe.
These recipes are shared for informational purposes only and should not be considered dietary, nutritional, or medical advice. For personalized advice, always consult with a qualified professional. Happy cooking!