Listen. If there is one thing I’m going to do, it’s take a simple vegetable and make it act like it belongs at a table with candles and a good drink. These vegan stuffed mushrooms are creamy, savory, and seasoned in a way that lets you know somebody paid attention. The kind of dish that makes the kitchen smell so good you start cleaning as you cook, just in case company “accidentally” stops by.
This recipe is vegan, but it doesn’t announce itself like it needs applause. It’s rich without being heavy, bold without being loud, and just spicy enough to keep things interesting. It’s the kind of food you make when you want something comforting but still grown. Simple steps, real flavor, and mushrooms that understand the assignment.
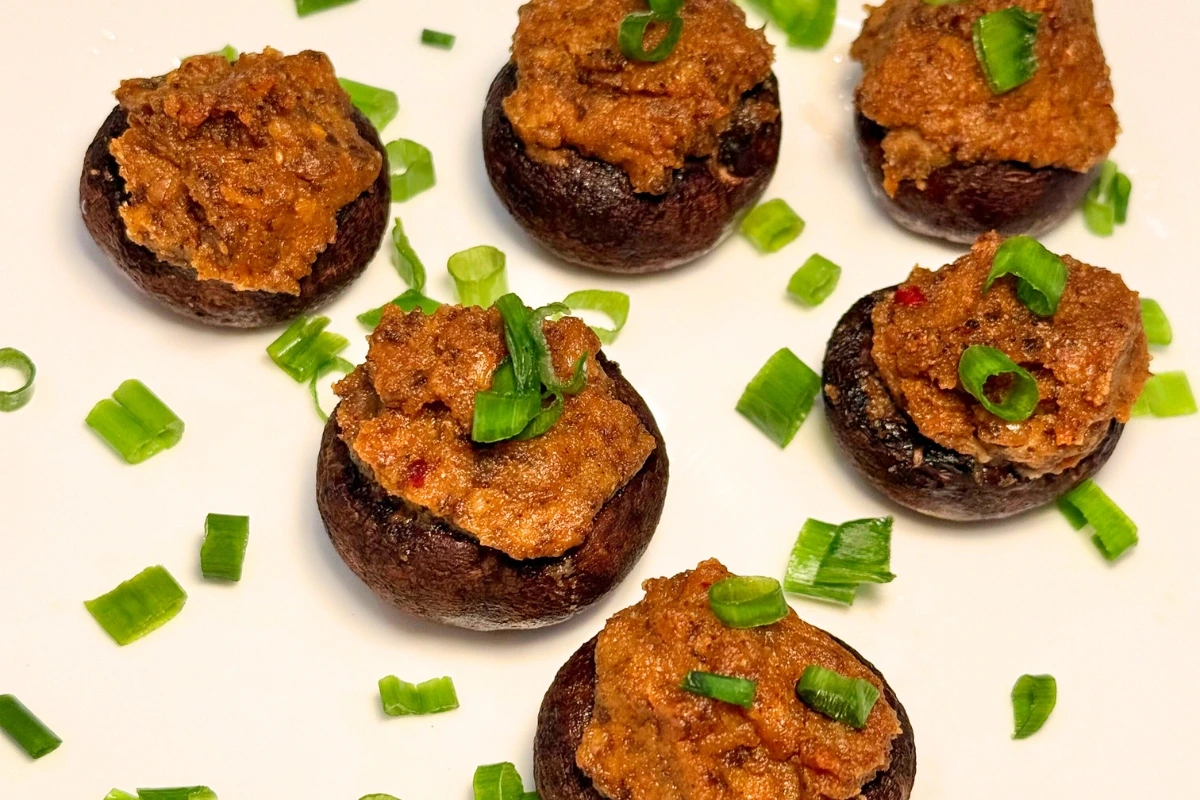
Creamy Vegan Stuffed Mushrooms with Cashew Herb Filling
Equipment
- Baking sheet
- Large skillet
- Blender or high-speed blender
- Cutting board
- Knife
- Mixing spoon
- Measuring spoons and cups
Ingredients
Mushrooms
- 24 ounces baby bella mushrooms stems removed and finely chopped
- Cashew Cream
- 1 cup raw cashews soaked in hot water and drained
- 1/2 cup water plus up to 2 tablespoons more if needed
- 1/2 teaspoon salt
Savory Filling
- 3 tablespoons olive oil divided
- 3 tablespoons minced garlic
- 1 teaspoon onion powder
- 3/4 teaspoon smoked paprika
- 1/2 teaspoon ground cumin
- 1/2 teaspoon ground coriander
- 1/8 teaspoon black pepper
- 1/4 teaspoon crushed red pepper flakes
- 1/8 teaspoon cayenne pepper optional for extra heat
- 4 tablespoons nutritional yeast
- 2 teaspoons freshly squeezed lemon juice
- 1 to 2 teaspoons coconut aminos
Optional Topping
- 1/2 cup finely chopped walnuts or pecans
- 1 tablespoon olive oil
Instructions
- Preheat Like a Pro: Preheat your oven to 375°F and line a baking sheet with parchment paper. Set it aside and let the oven do its thing.
- Prep the Mushrooms: Gently clean the 24 ounces of baby bella mushrooms. Remove the stems, finely chop them, and arrange the mushroom caps hollow-side up on the prepared baking sheet.
- Soak for Creaminess: Place 1 cup of raw cashews in a heat-safe bowl, cover with very hot water, and let soak for 20–30 minutes. Drain completely.
- Blend It Smooth: Add the drained cashews to a blender with 1/2 cup water and 1/2 teaspoon salt. Blend until very smooth and thick. Add up to 2 tablespoons more water only if needed. You’re looking for spoonable, not pourable.
- Build the Flavor Base: Heat 2 tablespoons olive oil in a large skillet over medium heat. Add the chopped mushroom stems and sauté for 8–12 minutes until all moisture cooks off and the mushrooms begin to brown.
- Season with Confidence: Add the minced garlic, onion powder, smoked paprika, cumin, coriander, black pepper, crushed red pepper flakes, and cayenne if using. Stir and cook for 60–90 seconds until fragrant. Your kitchen should smell amazing right now.
- Layer the Umami: Lower the heat and stir in the nutritional yeast and lemon juice. Cook for another 30 seconds, letting everything come together.
- Make It Creamy: Add the cashew cream to the skillet and stir until fully combined. Then stir in the remaining 1 tablespoon olive oil and 1 to 2 teaspoons coconut aminos. Taste and adjust seasoning if needed.
- Stuff Them Up: Spoon the filling into each mushroom cap, about 1 to 1 1/2 tablespoons per mushroom. Gently pack it in and mound slightly on top.
- Add a Little Crunch: If using the topping, toss the chopped nuts with 1 tablespoon olive oil and sprinkle over the stuffed mushrooms.
- Bake to Perfection: Bake for 22–28 minutes until the mushrooms are tender and the tops are lightly golden.
- Rest and Serve: Let the mushrooms rest for 5 minutes before serving. Then watch them disappear.
Notes
Disclaimer: The nutritional information provided with this recipe is an estimate and may vary depending on the specific ingredients, brands, or preparation methods you use. Cooking times and results may also vary based on your equipment, conditions, and individual cooking skills. Please use your own judgment and adjust as needed during preparation.
Be mindful of food allergies and sensitivities when preparing this recipe. Always double-check ingredient labels to ensure they are suitable for your specific dietary needs or those of anyone you may be serving. Neither the recipe creator nor this blog assumes responsibility for adverse reactions caused by following the recipe.
These recipes are shared for informational purposes only and should not be considered dietary, nutritional, or medical advice. For personalized advice, always consult with a qualified professional. Happy cooking!