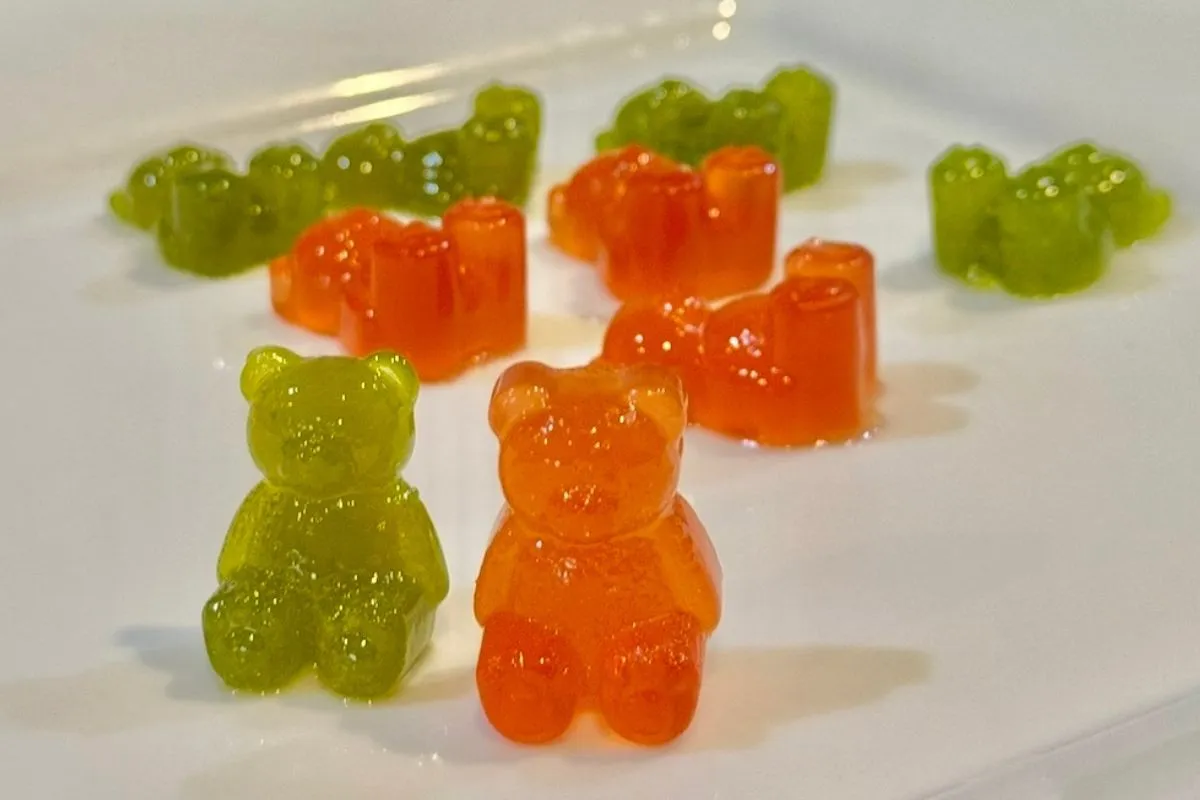
Picture this: it’s Saturday night, and you’re vibing at home. Maybe there’s a little jazz playing in the background, or maybe it’s some old-school R&B that makes you want to dance just because. You head to the kitchen, open the fridge, and bam! There they are. A glorious little batch of homemade infused gummy bears, gleaming like tiny edible jewels, just waiting to bring a little sweetness (and calm) to your evening. That’s the power of infused recipes done right, my friend. They make the everyday feel like an occasion.
Now, if you’re thinking, “Wait, infused recipes, like edibles? Isn’t that, uh, complicated?” Rest easy. I’m here to tell you it’s not. These infused gummy bears are as approachable as they are delicious. If you’ve got a whisk, a saucepan, and a little patience (okay, and some gummy molds for fun), you’ve got what it takes to create something that’ll make you do a little happy dance in the kitchen. And isn’t that what life’s all about? Little moments of joy, one bite at a time.
Oh, and did I mention these gummies are low-carb? That means you get all the chew, fruitiness, and chill vibes without derailing your health goals. Yes, friend, you really can have it all.
First Things First, A Little PSA (From Your Favorite Kitchen Hype Squad)
Alright, gummy bear enthusiasts, before we jump into this juicy adventure, I’ve got to sprinkle in a tiny dose of kitchen wisdom. When I say “infused,” I’m giving you the keys to your own flavorful kingdom. These gummy bears are versatile little gems! Whether you’re adding ashwaghanda, adaptogens, or yes, something with a little extra sparkle for the grown folks, the choice is yours. But listen, we’re here for fun and responsibility, okay?
Whatever you’re planning to sprinkle, drip, or mix into your gummies, make sure you know the deal. Ask yourself, “Am I clear on what I’m working with? Do I know how much to use?” If the answer is anything less than “ABSOLUTELY,” hit pause. Do a quick research session, consult an expert, or even phone someone wise in the ways of these ingredients. (Do not—I repeat, do NOT—play gummy games with your vibes, people.) The goal is pure joy, not a surprise plot twist that ends with pacing the living room at midnight.
Now that we’ve got our little chat out of the way, it’s time to roll up our sleeves and whip up the most fun, chewy, and perfectly balanced gummy bears of your dreams. You ready? Of course you are! 🍬
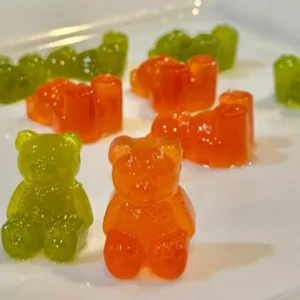
Infused Gummy Bears (Low-Carb)
Equipment
- Silicone gummy molds (any fun shapes encouraged!)
- Medium saucepan
- Measuring cups and spoons
- Whisk
- Dropper or squeeze bottle (precision is key!)
Ingredients
- ½ cup sugar-free syrup like Lakanto or ChocZero
- 3 tablespoons powdered allulose or preferred keto-friendly powdered sweetener
- ¼ cup water
- 1½ teaspoons unflavored gelatin powder
- ½ teaspoon citric acid
- ½ teaspoon natural food coloring optional, for those vibrant vibes!
- ½ teaspoon flavoring extract your fave choice, like lemon, orange, or berry!
- 1 mL Infusion extract adjust based on desired strength per gummy (you know what I mean, right?)
Instructions
- Prep Your Molds: Lightly spray your silicone molds with a tiny bit of neutral oil if they tend to stick. Place them on a flat baking sheet for easy handling later (because you’re smart like that).
- Make the Base: Combine sugar-free syrup, powdered allulose, and water in a medium saucepan over medium heat. Stir gently until the sweetener dissolves and the mixture starts to look like liquid glass.
- Thicken the Mix: Sprinkle the unflavored gelatin into the saucepan while whisking to avoid lumps. Continue stirring for about 2-3 minutes until the mixture thickens into a silky, smooth texture.
- Add the Flavors and Colors: Remove the saucepan from the heat and stir in citric acid, natural food coloring (if using), and your chosen flavor extract. This is where the gummy magic gets personal!
- Infuse it Up: Carefully add your "infused" extract, adjusting to your preferred dose (start small if you’re new, friend). Stir until the extract is evenly incorporated, ensuring calm vibes in every gummy.
- Pour into Molds: Use a dropper or squeeze bottle to fill your molds with the gummy mixture. Work quickly here, as the mixture will begin to set. Don’t overthink it, you’ve got this!
- Chill & Set: Place the filled molds in the fridge to set for at least 30 minutes, or until the gummies are firm to the touch. Patience is your best ingredient here!
- Pop & Store: Gently pop the gummies out of the molds and store them in an airtight container in the fridge for up to two weeks. Though, let's be honest, they’ll be gone way sooner!
Notes
- Pro Tip: If you want a sour twist, dust the gummies with a mix of citric acid and powdered erythritol after popping them out of the molds.
- Choose bold flavor combinations like raspberry and lemon for tangy vibes, or orange and vanilla for creamsicle nostalgia.
- If the mixture sets too quickly while you’re pouring, gently reheat over low heat to loosen it up.
The term “infused” in this blog post is intentionally broad and can refer to a wide range of ingredients, such as herbs, adaptogens like ashwagandha, or other natural additives. While these recipes are designed with versatility and creativity in mind, it’s essential to approach them with care and responsibility.
Before adding any infused ingredients to your recipes, please ensure you are familiar with their effects, dosages, and compatibility with your personal lifestyle. If you’re unsure or have specific health concerns, it’s always best to consult a healthcare professional, nutritionist, or other trusted expert.
This blog is meant to inspire and does not serve as medical or nutritional advice. Always prioritize your safety and tailor each recipe to suit your unique needs. Creating in the kitchen is fun, but being informed is key!
Disclaimer: The nutritional information provided with this recipe is an estimate and may vary depending on the specific ingredients, brands, or preparation methods you use. Cooking times and results may also vary based on your equipment, conditions, and individual cooking skills. Please use your own judgment and adjust as needed during preparation.
Be mindful of food allergies and sensitivities when preparing this recipe. Always double-check ingredient labels to ensure they are suitable for your specific dietary needs or those of anyone you may be serving. Neither the recipe creator nor this blog assumes responsibility for adverse reactions caused by following the recipe.
These recipes are shared for informational purposes only and should not be considered dietary, nutritional, or medical advice. For personalized advice, always consult with a qualified professional. Happy cooking!